April 3, 2021
How to Create Your Product Store with Samcart – Step by Step Beginners Guide For 2021
How to Create Your Product Store with Samcart – Step by Step Beginners Guide For 2021
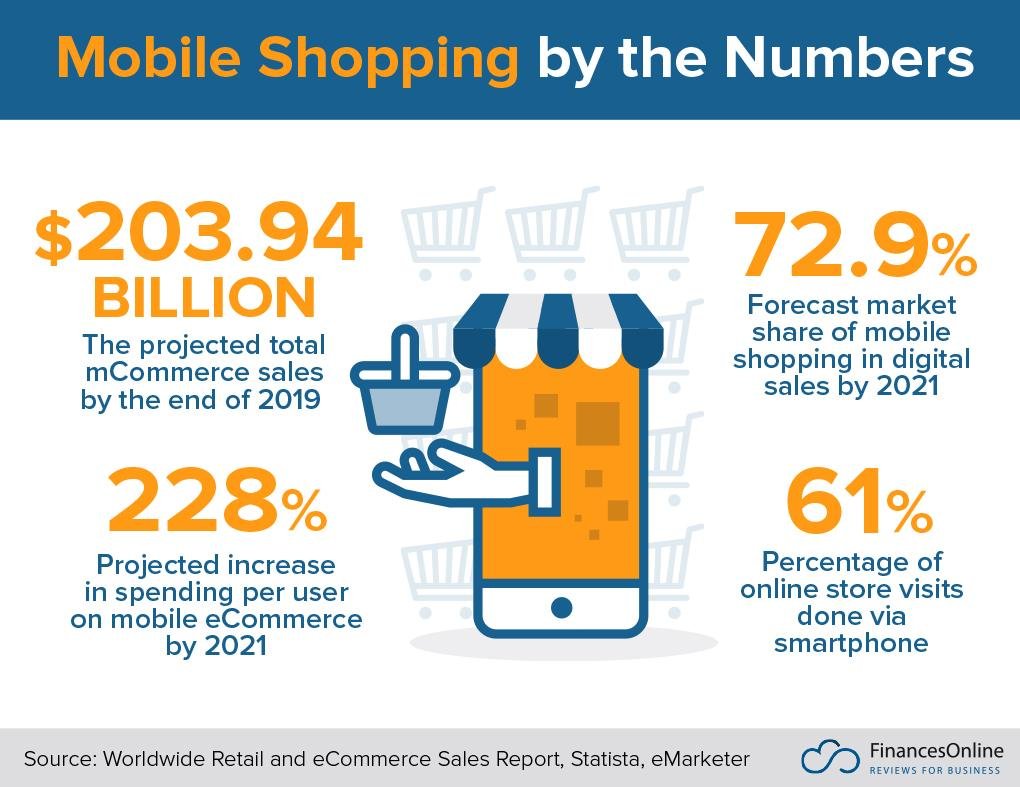
Online shopping is increasing day by day with expected revenue to hit more than 4 trillion in 2021. The main reason is the speed and convenience incorporated with shopping online. There are more than 20 million eCommerce sites with thousands going live day by day.
Many businesses are selling online through Facebook, Amazon or eBay. But having a dedicated personal website for your product allows you to have more control on how you would sell to your potential customers.
There are dozens of tools available to create online stores, most of them with their own technical complexities.
Here we will be discussing a tool named SamCart which is ideal for non-tech-savvy entrepreneurs who wish to build their business online in a few steps – without worrying about coding or hi-tech terms.
SamCart – Online Product Site Builder
SamCart is the first and only direct-to-consumer e-commerce product cart builder aimed at improving your sales with seamless purchasing online experience.
Some of the features include:
- Drag & drop page design options
- Easy to use interface
- Premade templates for checkout pages
- Easy email intimations setup
- Option of adding payment processors
- Secured checkout pages with SSL encryption
- Integration with platforms like MailChimp, Zapier etc
Using SamCart – A Step by Step Guide
Scroll down to read a detailed step by step guide for SamCart for beginners.
Let’s Get Started
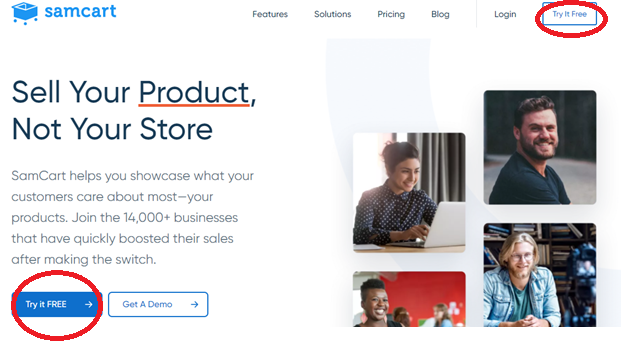
Open your browser to access the SamCart website.
To create a new account, you may choose their 14-day trial plan absolutely free.
Also, they provide an option to take a demo of Samcart. All you need to do is click on the Get a Demo button and register yourself for a live webinar which usually starts within 5 minutes.
In order to create a new account, click on the Try it Free button as shown in screenshot below.
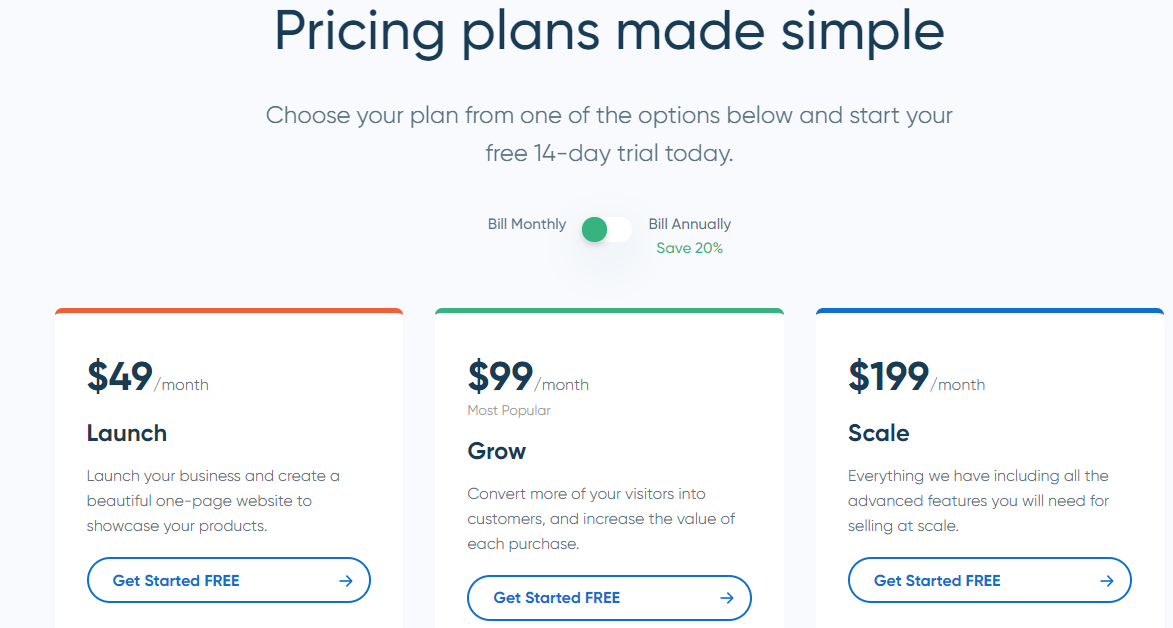
You will be redirected to a page with three pricing plans to choose from. You may choose the plan suitable to your needs and click on the Get Started FREE button.
To create your account, you may provide payment related information and click on the Create My Account button.
Note: You can cancel your subscription anytime. You will be charged monthly in the next two weeks.

Log in to Your Account
At home page, click on the Login button.

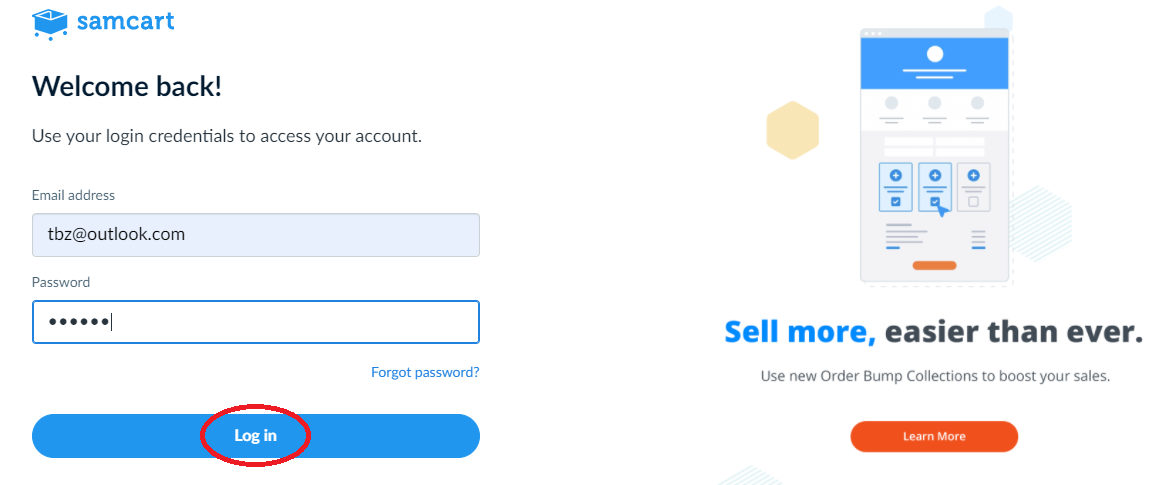
Provide your login credentials (registered email address and password) and click on the Login button.
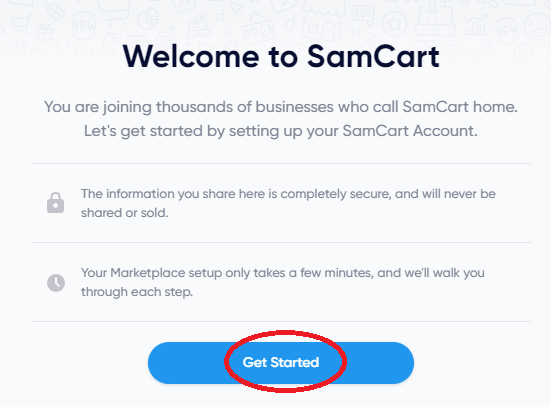
Are you ready to set up your online store at SamCart? Click on the Get Started button.
Setup Your Store – Create SamCart Account
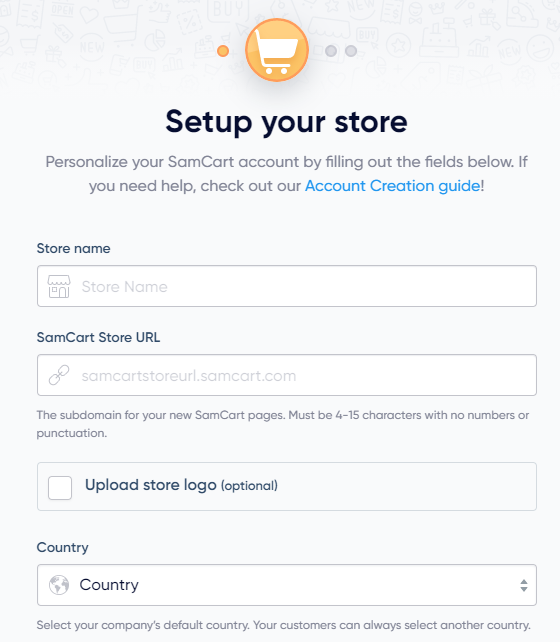
You are required to fill out some information in order to complete creation of your account.
- Store Name: Here you have to provide a suitable store name or marketplace name. You can always change this later through Settings.
- SamCart Store URL: A subdomain for your SamCart pages is to be written here. Make sure there are numbers or punctuation marks.
- Logo: Uploading your store logo is recommended but optional at this stage. You can upload it later through Settings.
- Country: You can select a default country which of course can be changed by customers to their local country.
- Currency: Select a currency from dropdown list – the same will be displayed as prices. Customers will be charged in the same currency as well. Please note that this field is not editable later. Make sure you select the correct currency.
- Timezone: Your cart will be working with this selected timezone. It’s important to show your customers what timezone you’re using since the same will be reflected while using countdowns (for e.g., coupon expiring time).
- Contact email: Adding contact email is optional if you don’t want your customers to view (it appears at checkout pages). Although you can add any type of email, we would recommend adding your business email only. For example: contactus@businessdomain.com
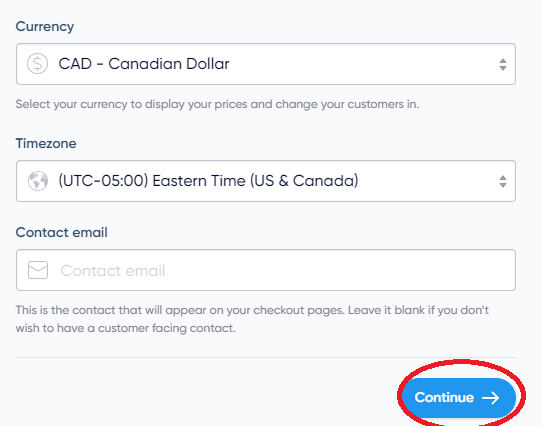
Click on the Continue button to proceed.
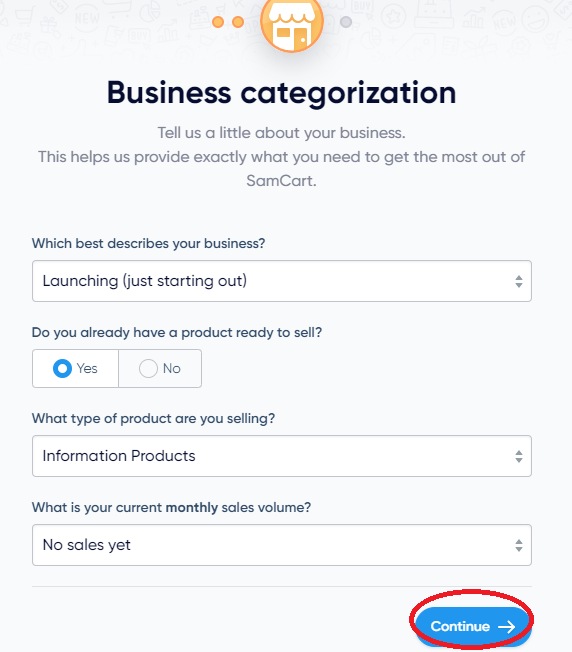
Next form is related to business categorization. Here you are required to provide details about your business such as product type, monthly revenue etc.
Once you are done, click on the Continue button.
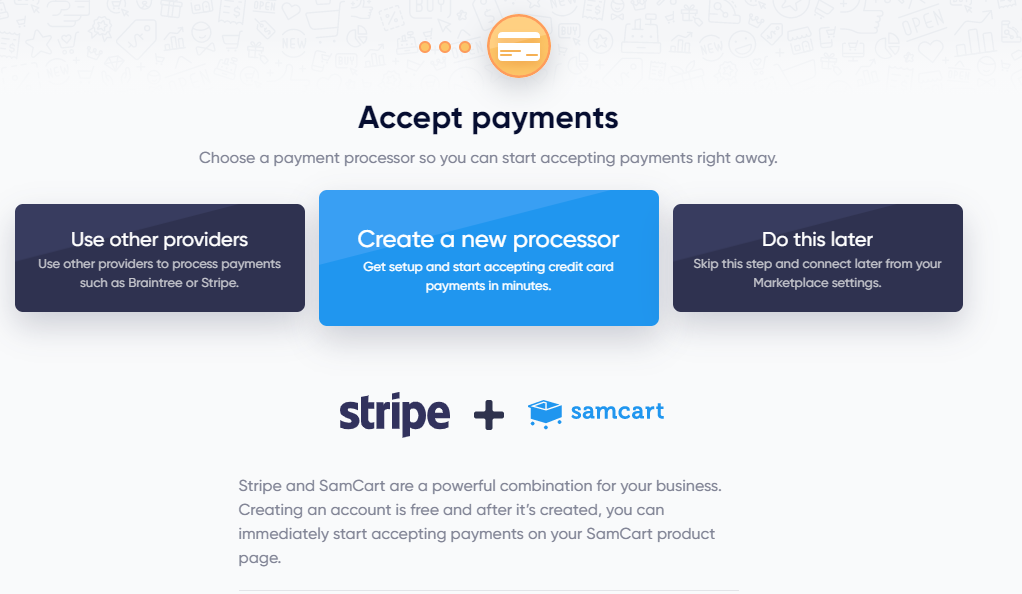
If you have a Stripe then it’s good news for you! SamCart recommends using Stripe to accept payments from customers. You can also add other payment processors such as PayPal later.
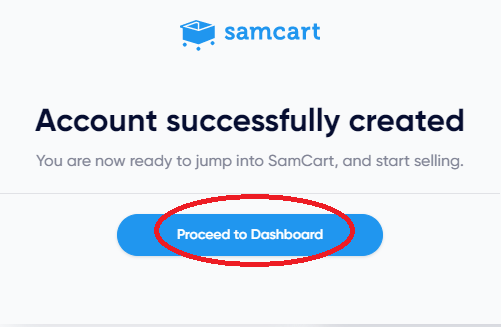
That’s all; your account has been created.
Click on the button Proceed to Dashboard to finish the account creation process.
Your Dashboard
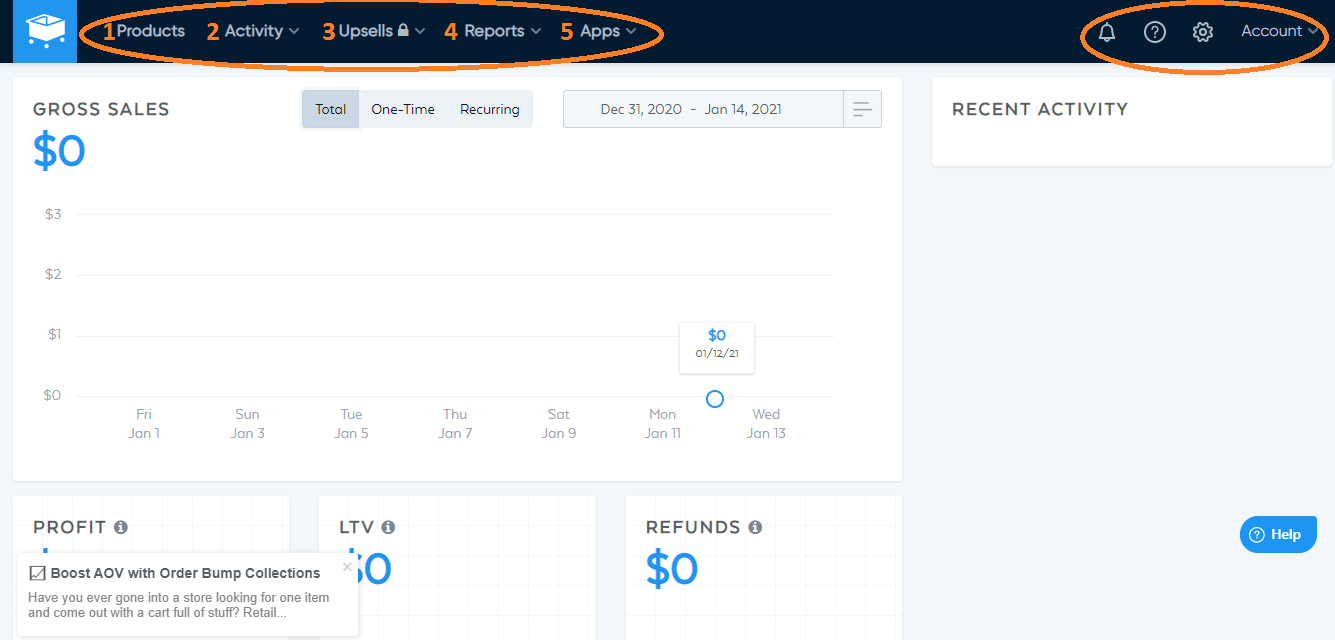
This is your home page, a dashboard providing insight into your store with multiple options to managing it. Let’s take a brief look into the options provided at the top bar:
- Products: You can find all details of your product(s) here; from adding a new product to searching for an existing one. Scroll down to learn more.
- Activity: Click here to view details of your customers, orders or subscription.
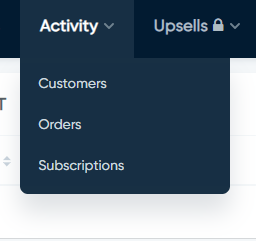
- Upsells: If you wish to increase your sales rapidly then upsells is all you need. It helps in creating enhanced customer experience as well as increasing conversion rates.
- Reports: You can view reports such as sales by date/product, traffic, subscriptions.
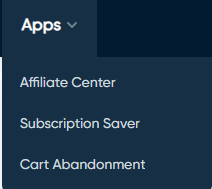
- Apps: following three options available here:
The menu options available at the top-right corner include following:

You can change your profile settings (password etc), view notifications and access the cart’s settings.
Adding Your Product
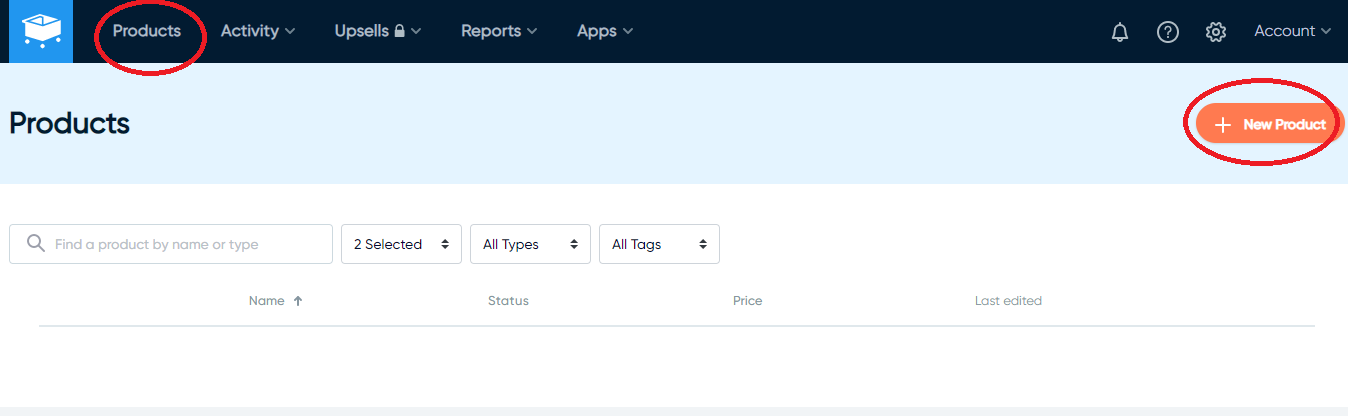
To add a new product, click on the Products menu link available at the top bar. Next, click on the “+ New Product” button as shown below.
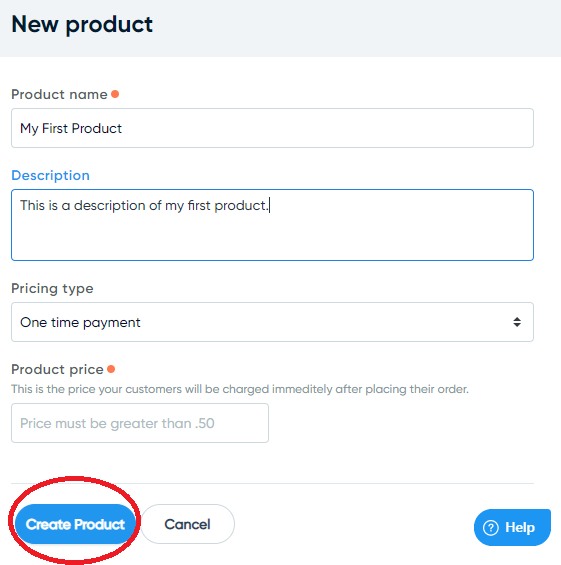
Adding products is simple and quick at SamCart. Provide product name and description as shown below.
You can select pricing types like one-time payment, recurring, and limited subscription and pay what you want. Put your product’s price and click on the Create Product button.
You will be redirected to the following page where in-depth settings with respect to your products are available.
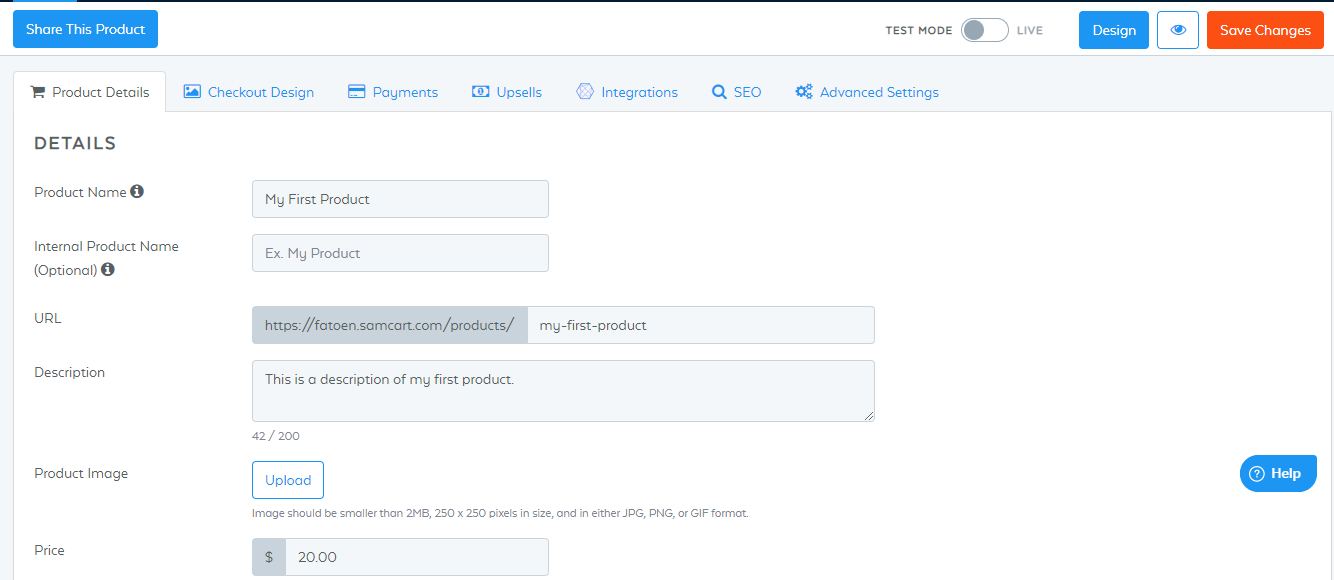
Step 1: Product Details
Let’s explore the first section named Product Details.
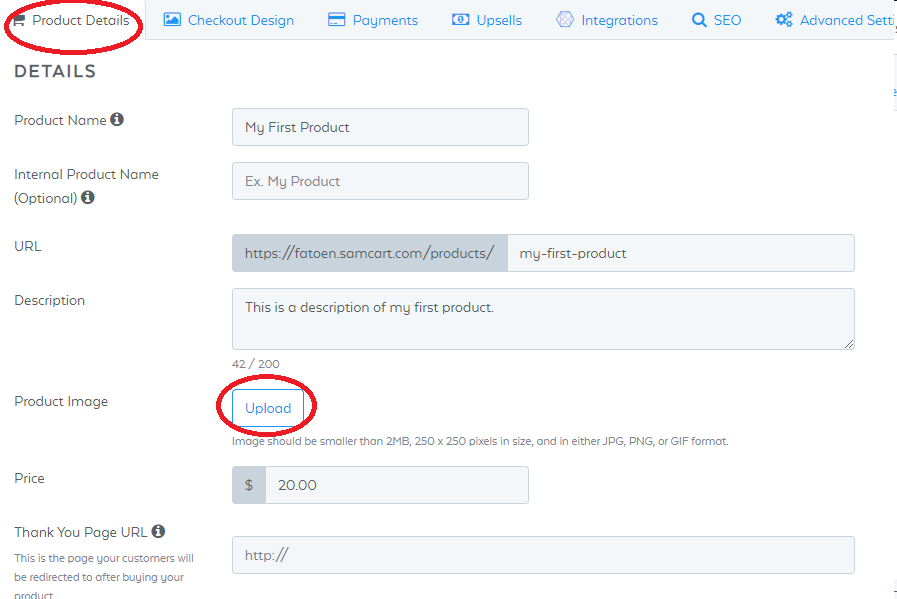
Following fields are included in Product Details section:
- Product Name: The name of the product displayed to the customer.
- Internal Product Name: This name is to be used internally and the same will be displayed in your dashboard.
- URL: the web address of your product.
- Description: Here you may describe your product with details to help the customer in understanding the product before purchase.
- Product Image: To upload image, click here. Following dialog box appears in your media library.

- Price: Mention the price of your product greater than 0.5.
- Thank You URL: After making the purchase, you can redirect your customers to a custom page thanking them for using your service. Here, you can provide the URL.

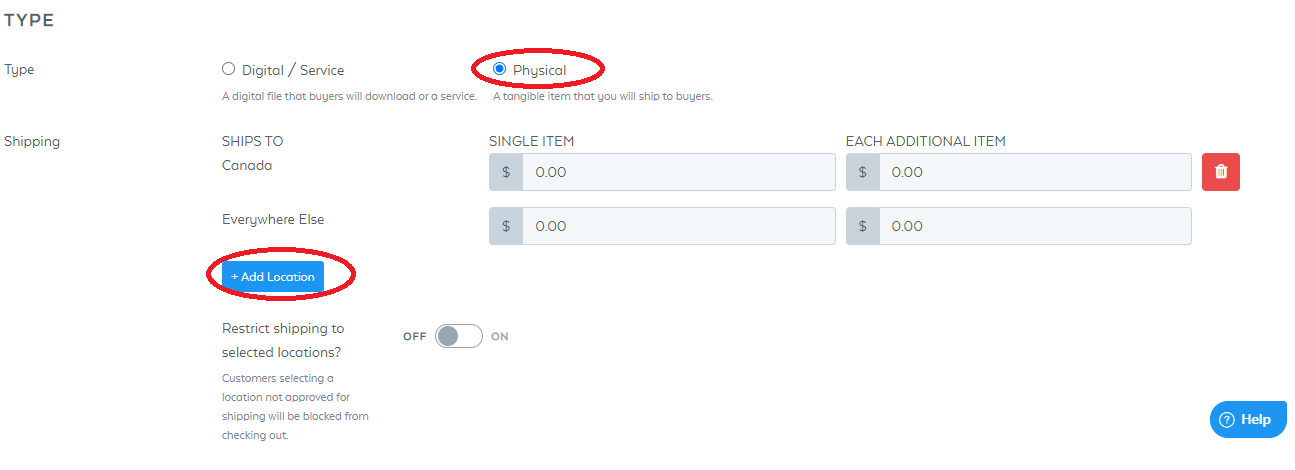
Scroll down to fill details about the type of the product:
- Type: Select the type of your product if it’s digital or physical (to be shipped to the buyer)
If you select Physical then you will have to provide following information:
- Digital File Type: Two options available to choose from. Will the buyer be downloading the product or a link will be shared upon purchase? If you select a digital file link, please provide following details.

- Digital File Upload: Upload your file here. In case there is more than one, then it’s recommended to upload in a compressed .zip file.
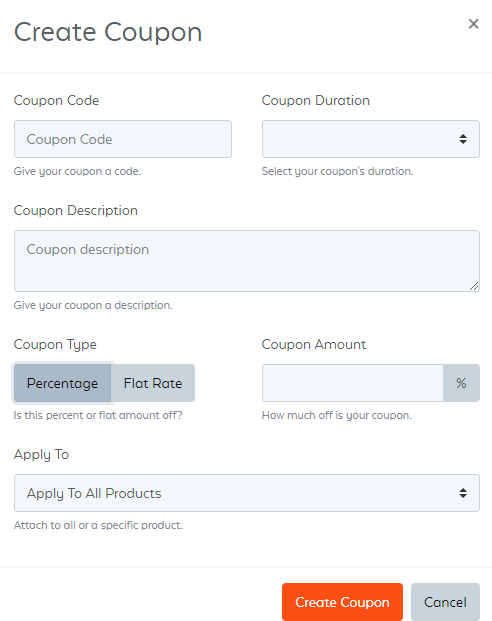
Adding Coupon:
To add a coupon associated with your product, toggle to ON and click on the “+ Add Coupon” button as shown below.

Following pop-up screen would appear asking you to fill relevant details with respect to the coupon. Once done, click on the Create Coupon button.
Step 2: Checkout Design
SamCart provides you to design your checkout page with either a blank page with selected layout or choose from free templates.
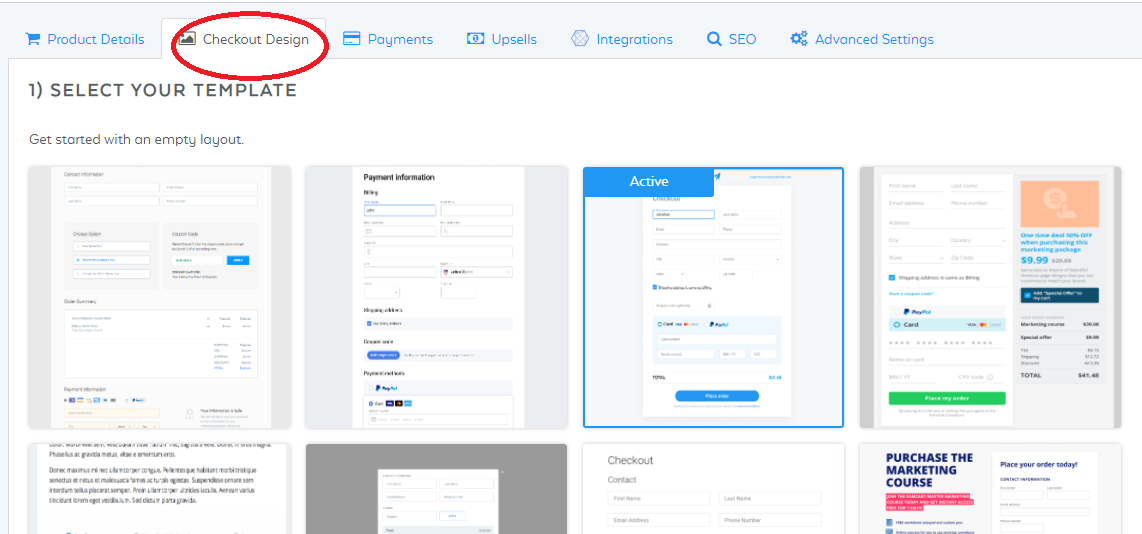
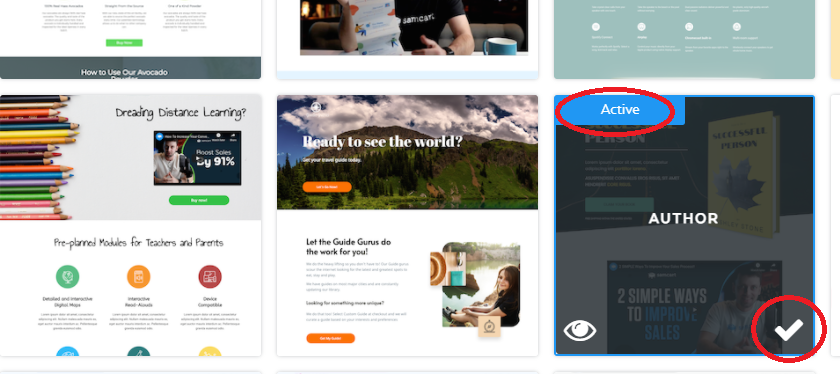
We decided to go forward with premade templates.
To select, hover your cursor to the desired template and click on the tick as shown below.
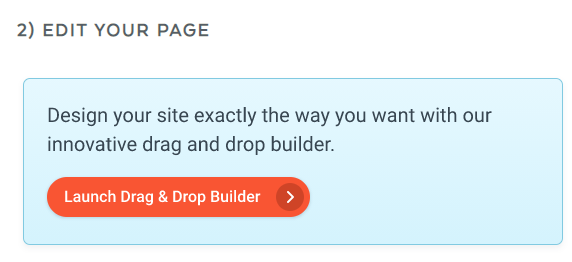
To edit your page, scroll down and click on the Launch Drag & Drop Builder button.
You will be redirected to the editor where you can completely revamp the selected template as per your requirement. You don’t need to learn any coding for this. Simply drag and drop, edit the texts, replace the images with your personal images, update buttons and so on.
Here’s how the editor looks.
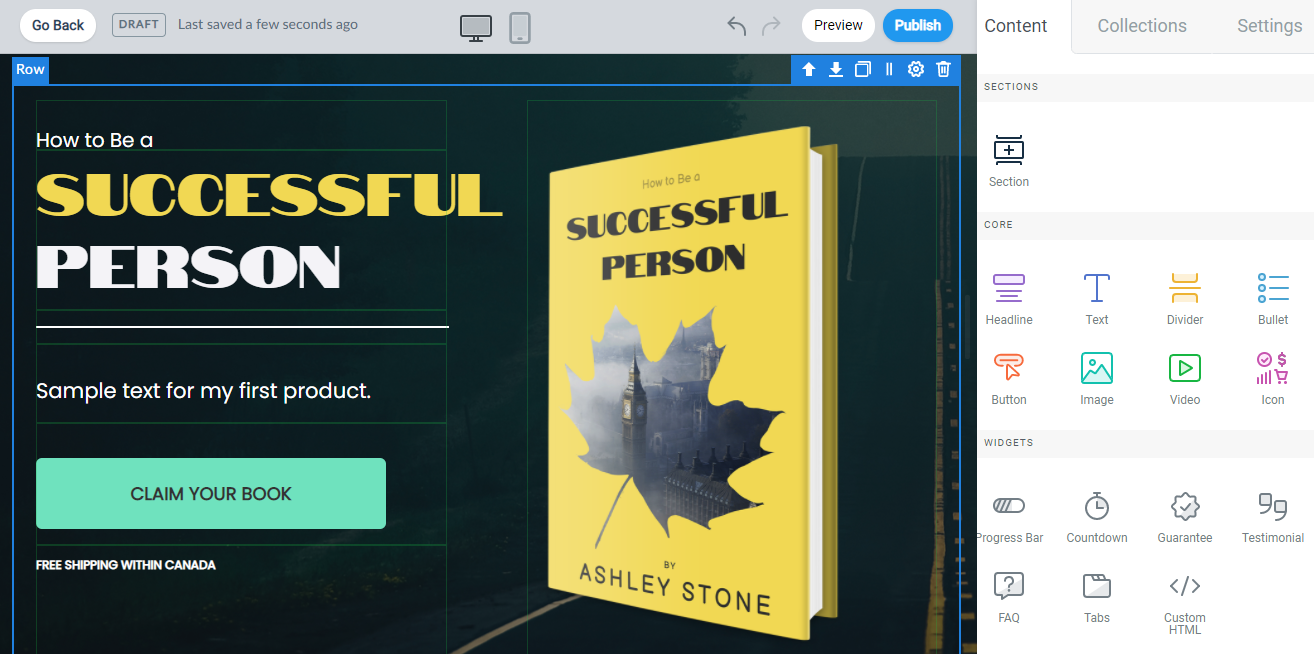
You can preview your page by clicking on the Preview button while making the changes. Once you are done, click on the Publish button.
Step 3: Payments
In order to be able to receive payments from your customers, you need to add a payment processor.
Currently, we do not have any active payment processor because at the start of the process, we selected the option to add it later.
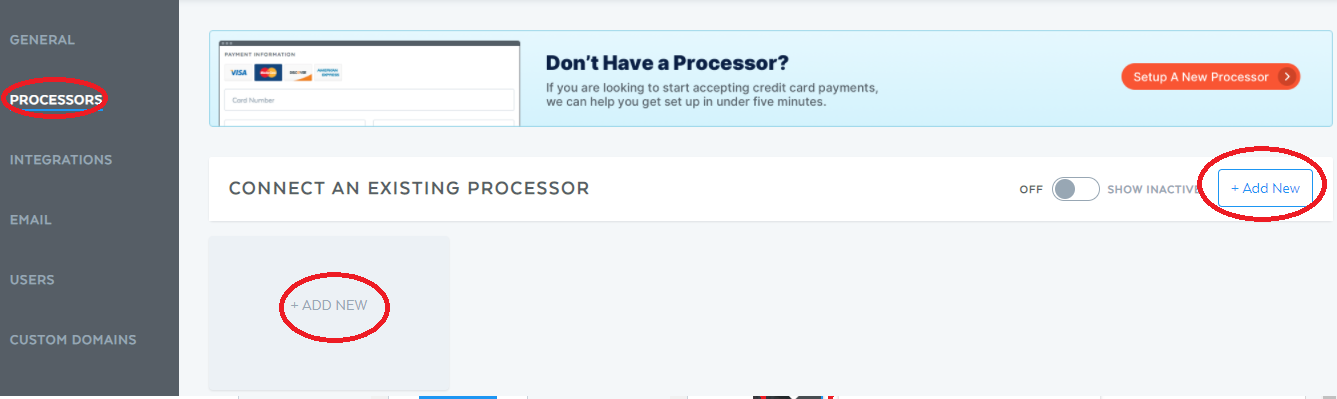
Click on the Payments tab and then click on the Edit Processor Integrations link as shown below.

You will be redirected to the settings where you can add or edit the payments processors. Click on the Add New button.
Choose from following three types of payment services as shown below:
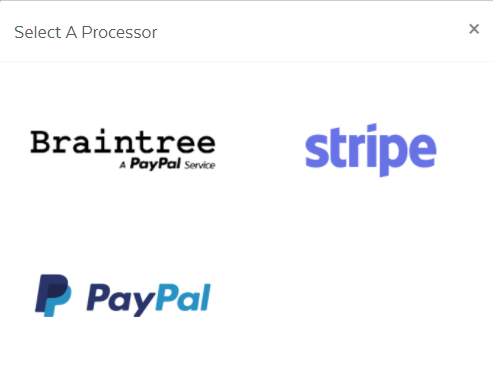
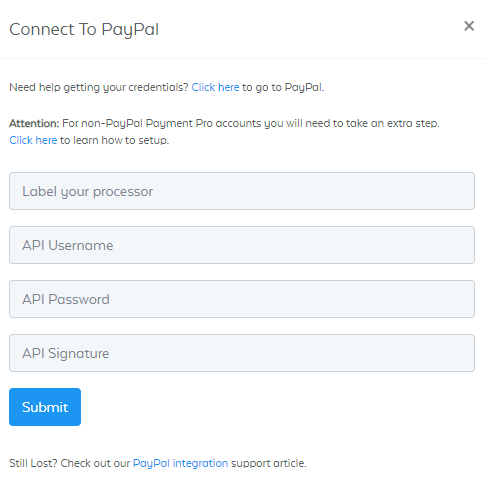
As an example, we click on PayPal and the following dialog box appears asking us to enter the credentials.
Step 4: Setting Emails
You can keep your customers updated with their orders’ status through emails. With SamCart, you can customize emails such as order receipt, refund order, update payment info etc.
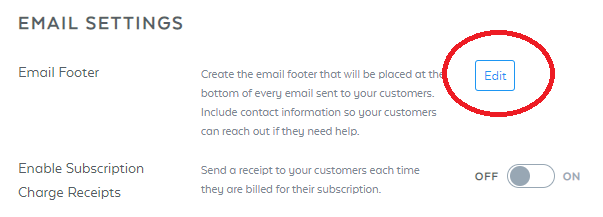
To begin setting up emails, click on the Email button available under settings.
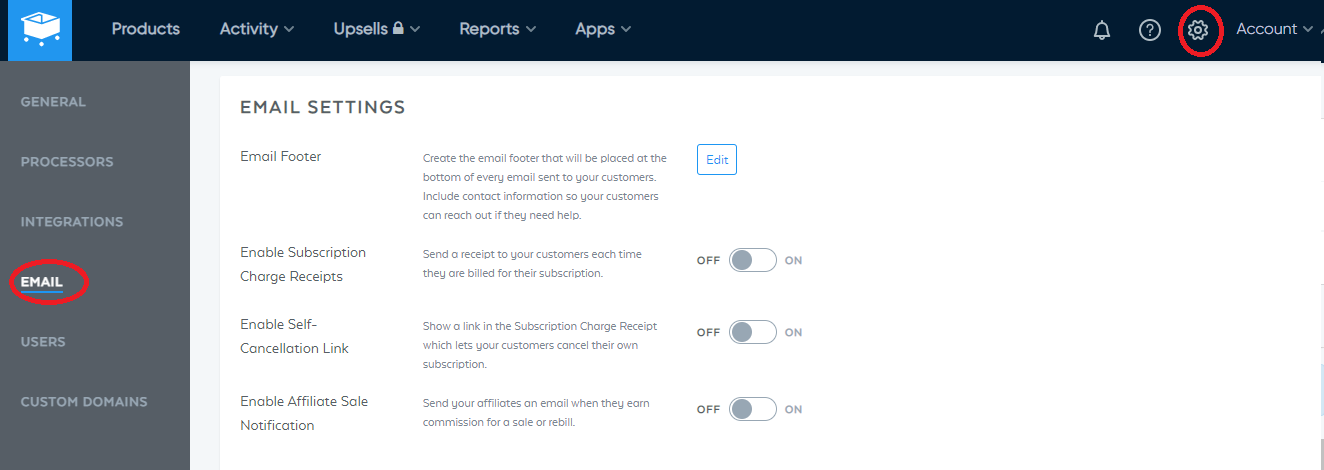
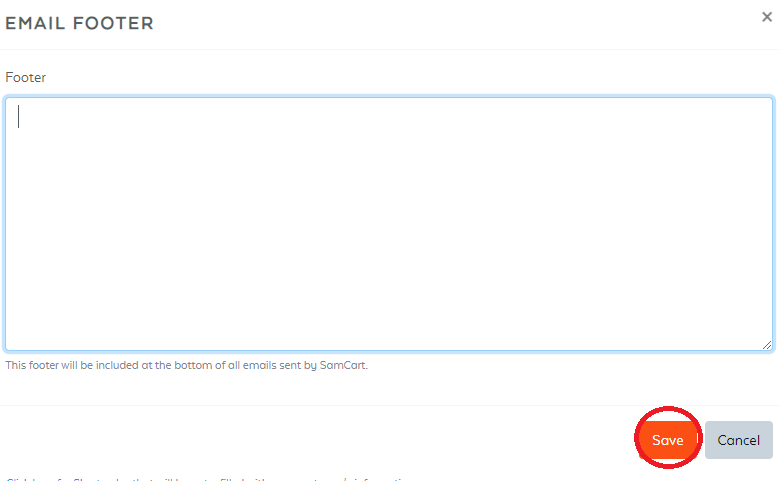
You can customize footers for all of your emails. You can add a disclaimer, copyrights information or anything you find suitable. In order to do so, click on the Edit button.
Following dialog box would appear to provide footer text. Click on the Save button.
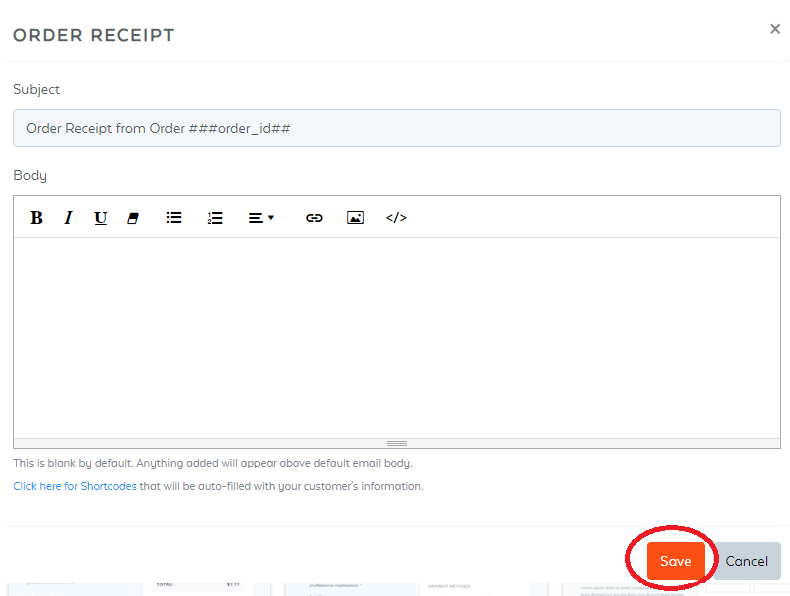
In this guide, we will be customizing order receipt email by clicking on the Edit button as shown below.

A dialog box would appear, similar to your personal email composer with format options. You can write any relevant text with respect to the order which will be sent to every customer.
Once done, click on the Save button.
Step 5: Share Your Product
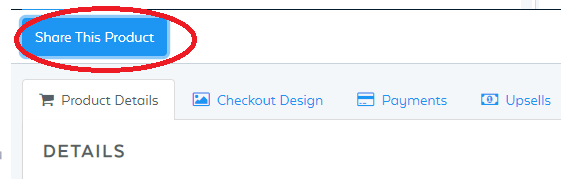
When your product cart is all ready, you can start sharing your product to potential customers. If it is your Ebook, you can share it to your blog or social media channel.
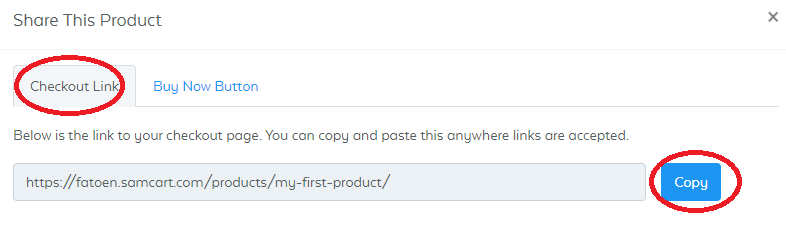
On your dashboard, click on the Share This Product button.
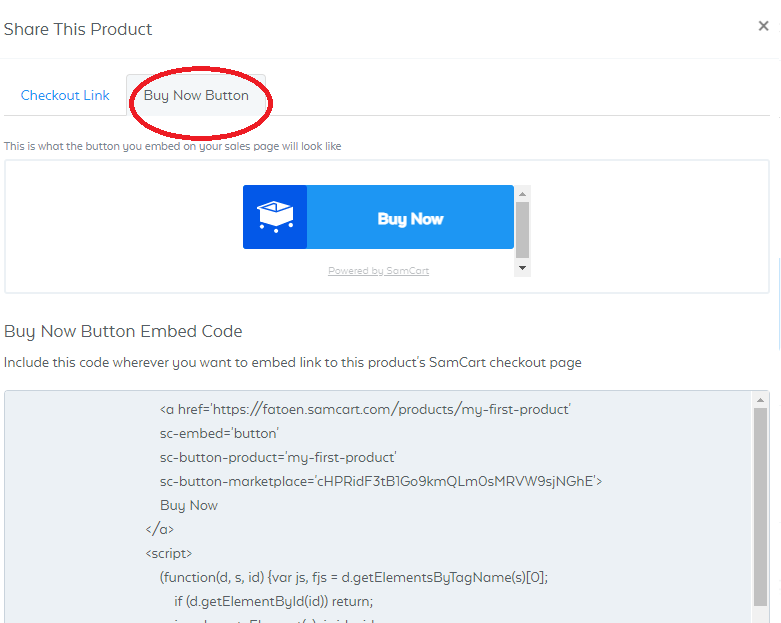
There are two ways you can share your product.
- Checkout Link: You can copy the link to your product’s checkout page. Click on the Copy button and paste the copied link to your desired website/blog/social media channel.
- Buy Now Button: You can copy the code and paste it to your site. A button will appear as shown below.

Final Thoughts
This is the end of our beginner’s guide where we discussed important steps required in setting up a product page. There are certainly more features available such as integrations with tools like Zapier & MailChimp, SEO, language settings and so on. You can start exploring these options once you are completely aware of how your cart works with basic features.
Would you like to add anything? Let us know in the comments below.
Disclosure: This article may contain affiliate links and we may earn a small commission when you click on them with no extra cost to you.
Leave a Comment
You must be logged in to post a comment.